CLOUD GARDEN STUDIO

AN OPEN AIR STUDIO & WORKSPACE FOR THE MODERN DAY RENAISSANCE PERSON
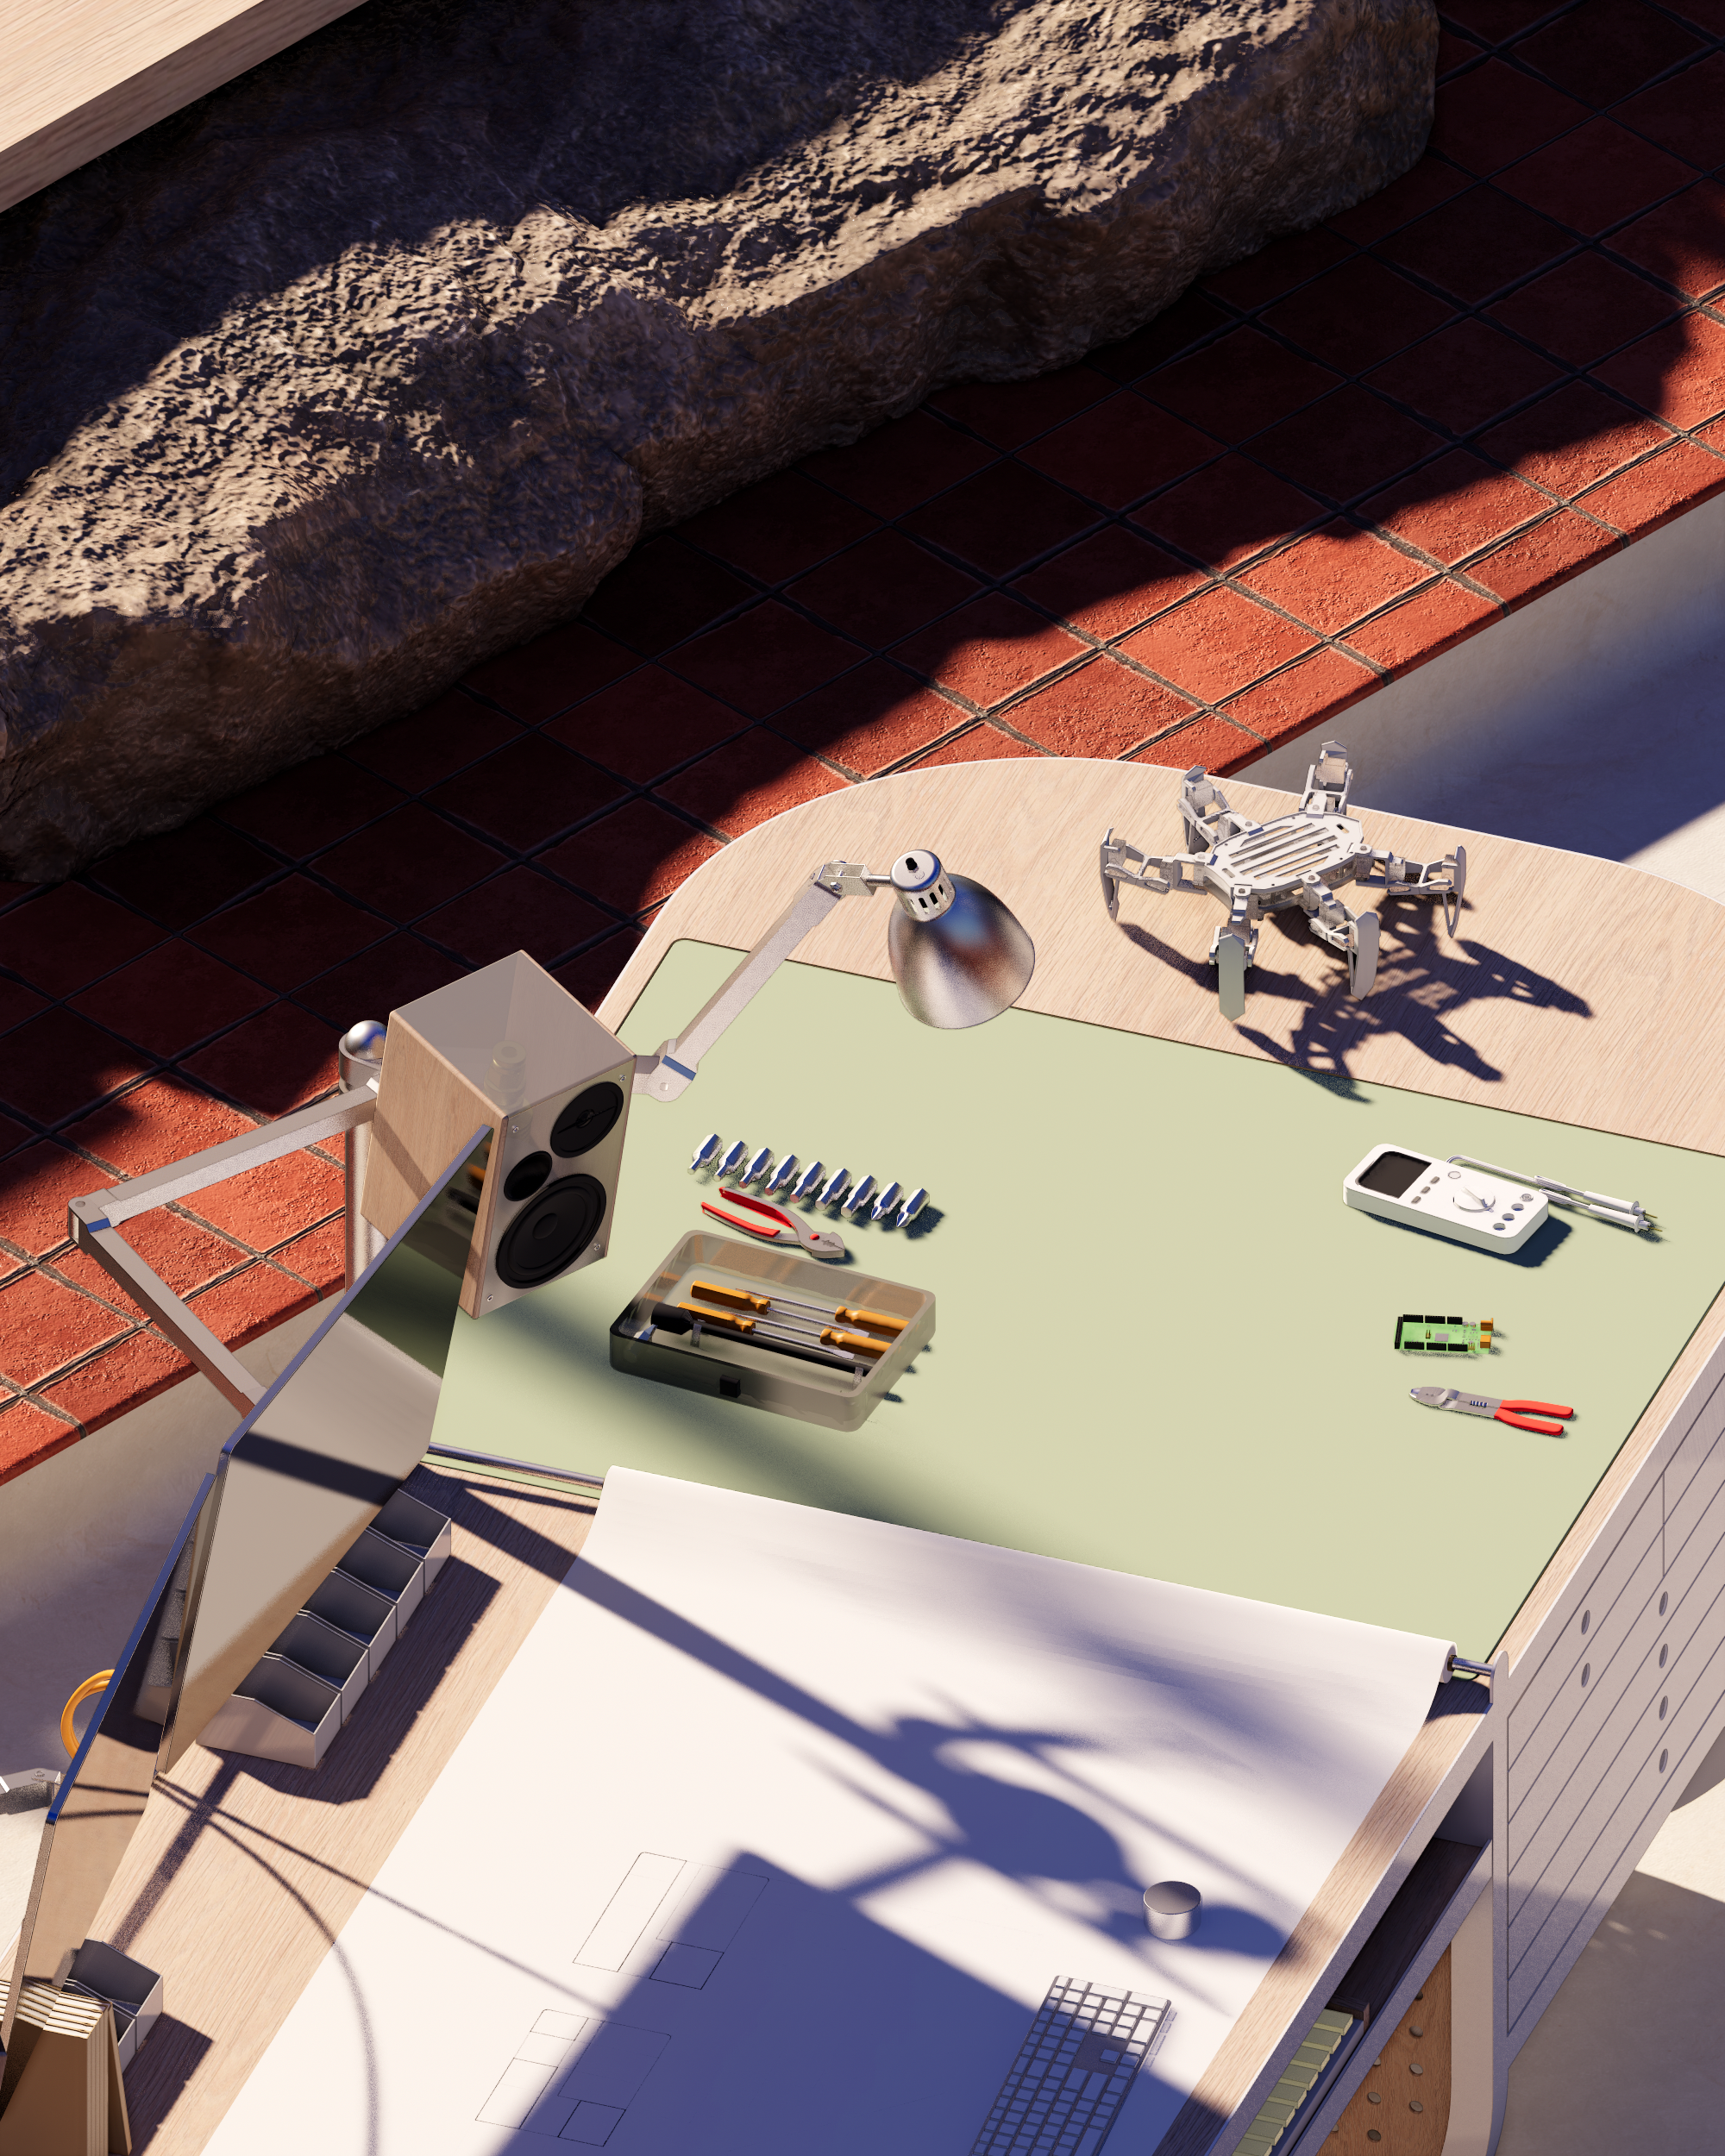
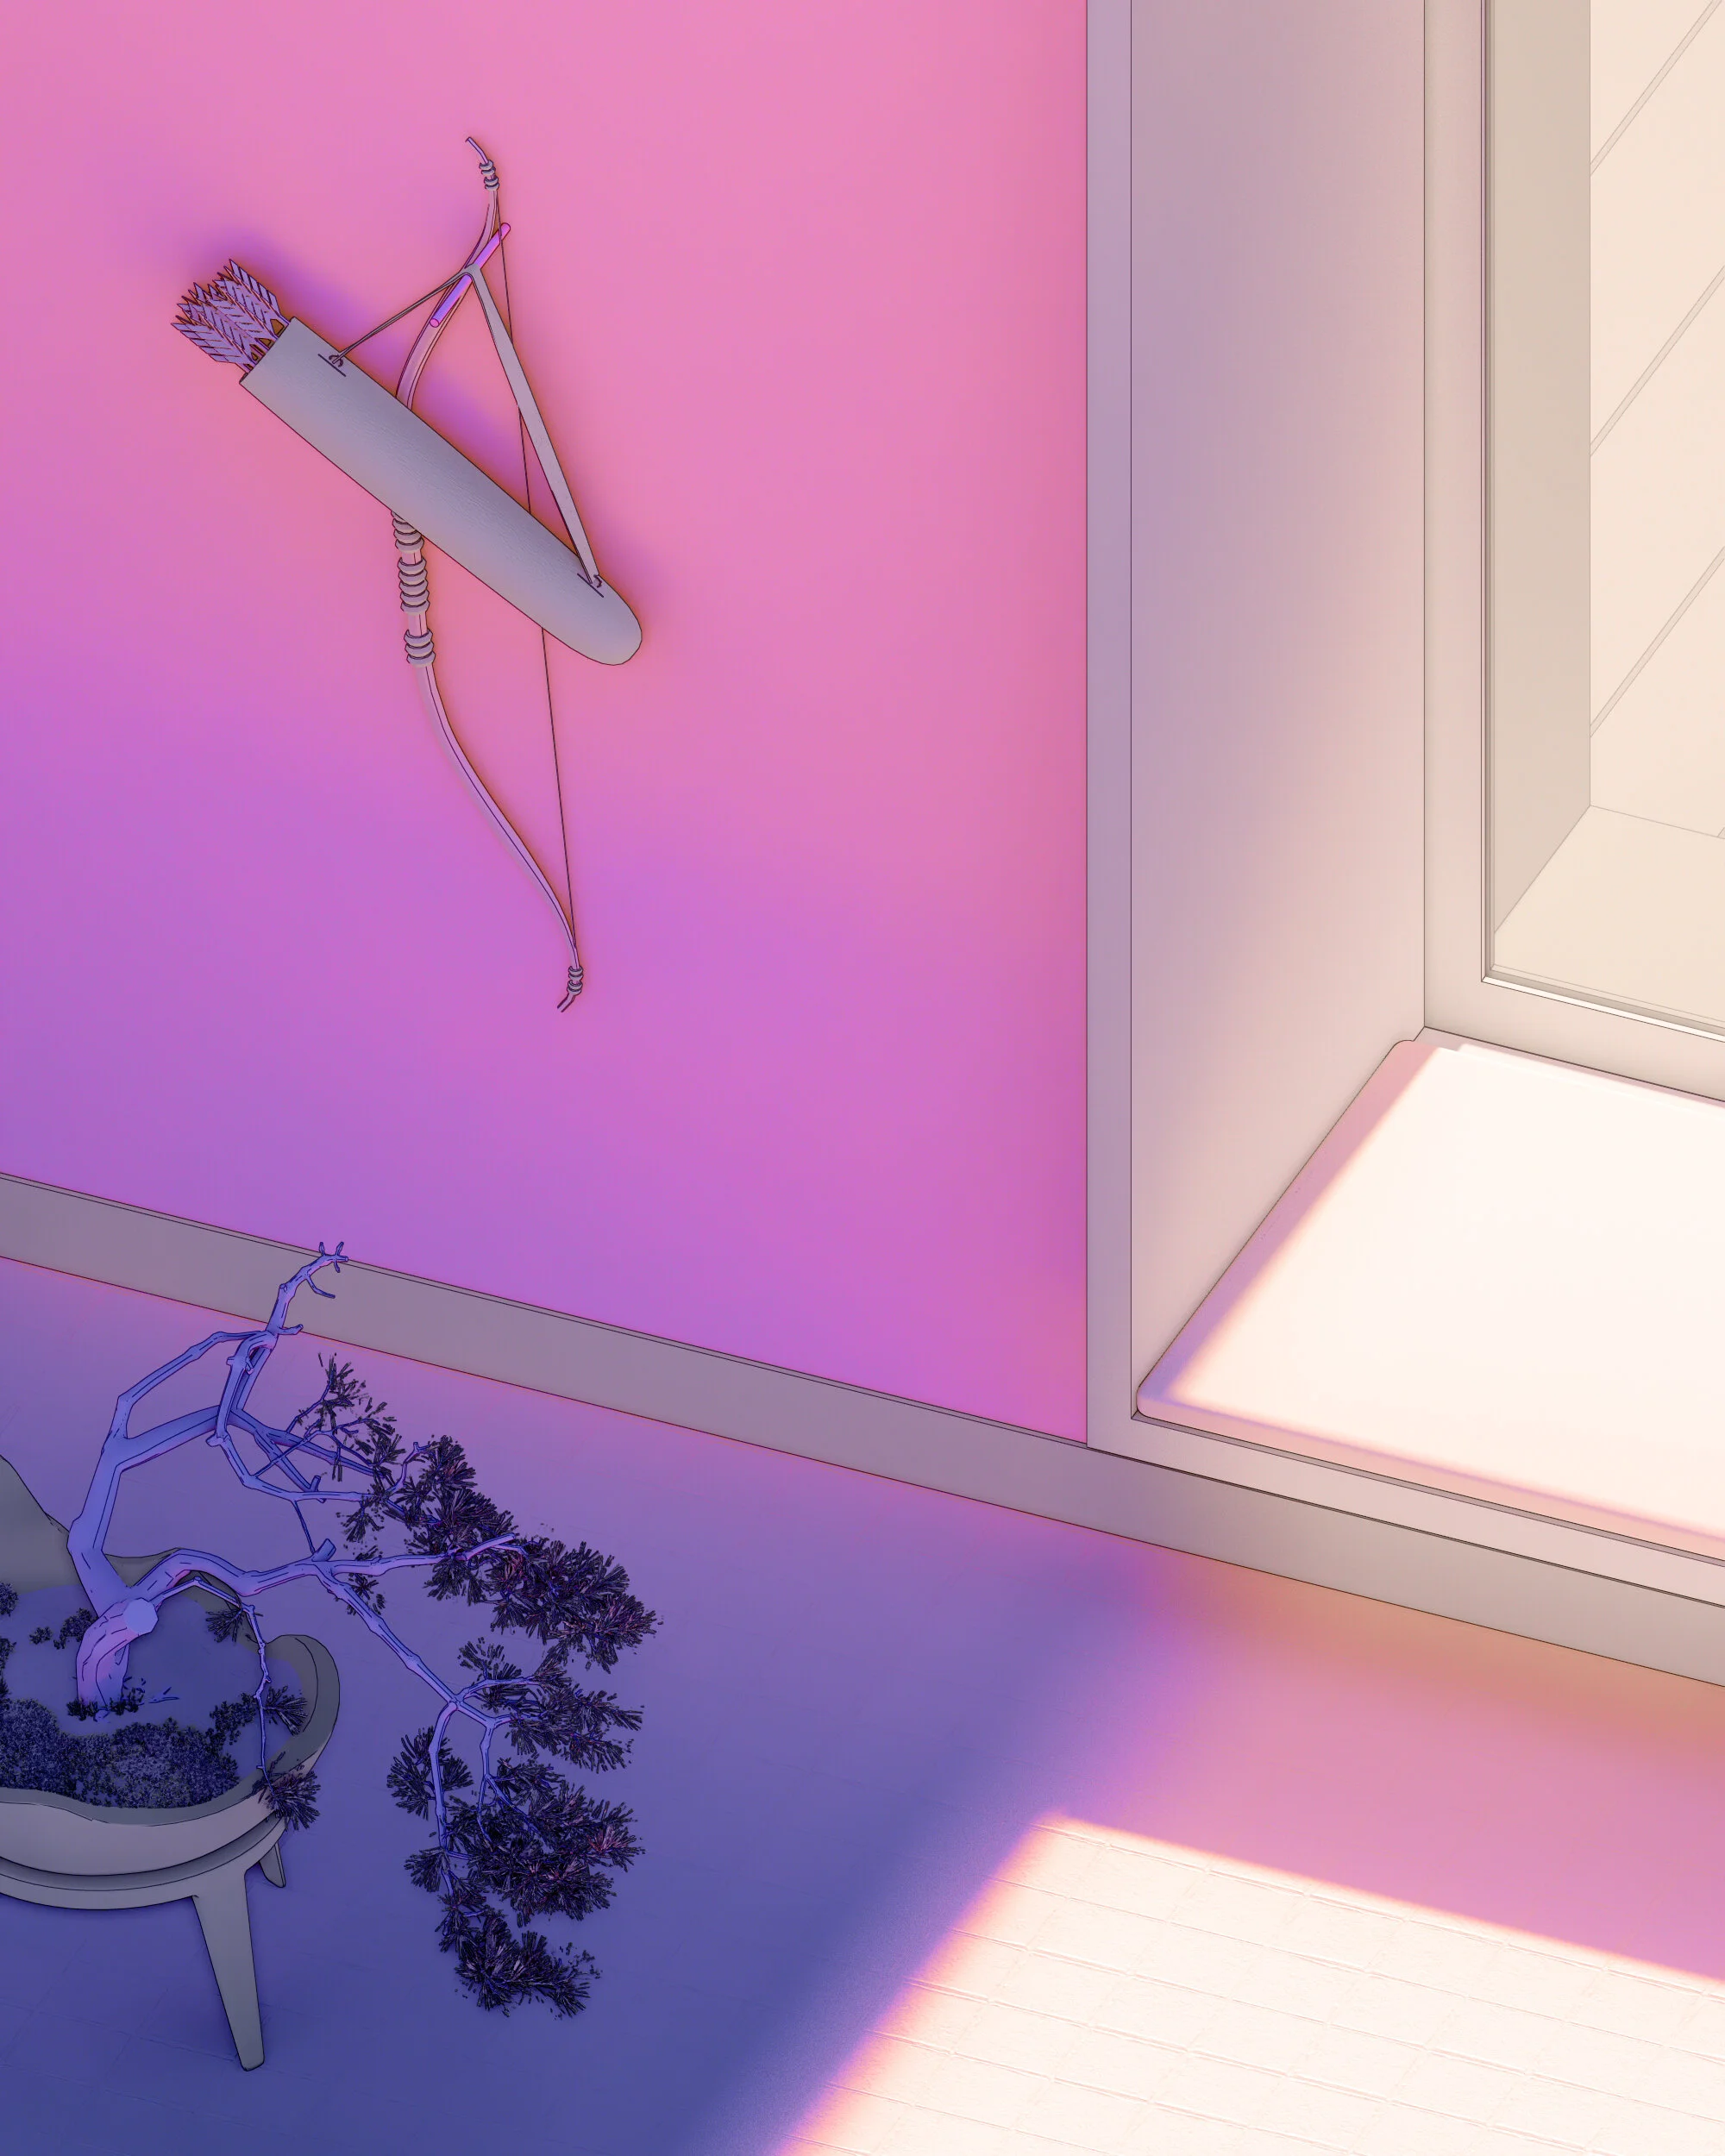
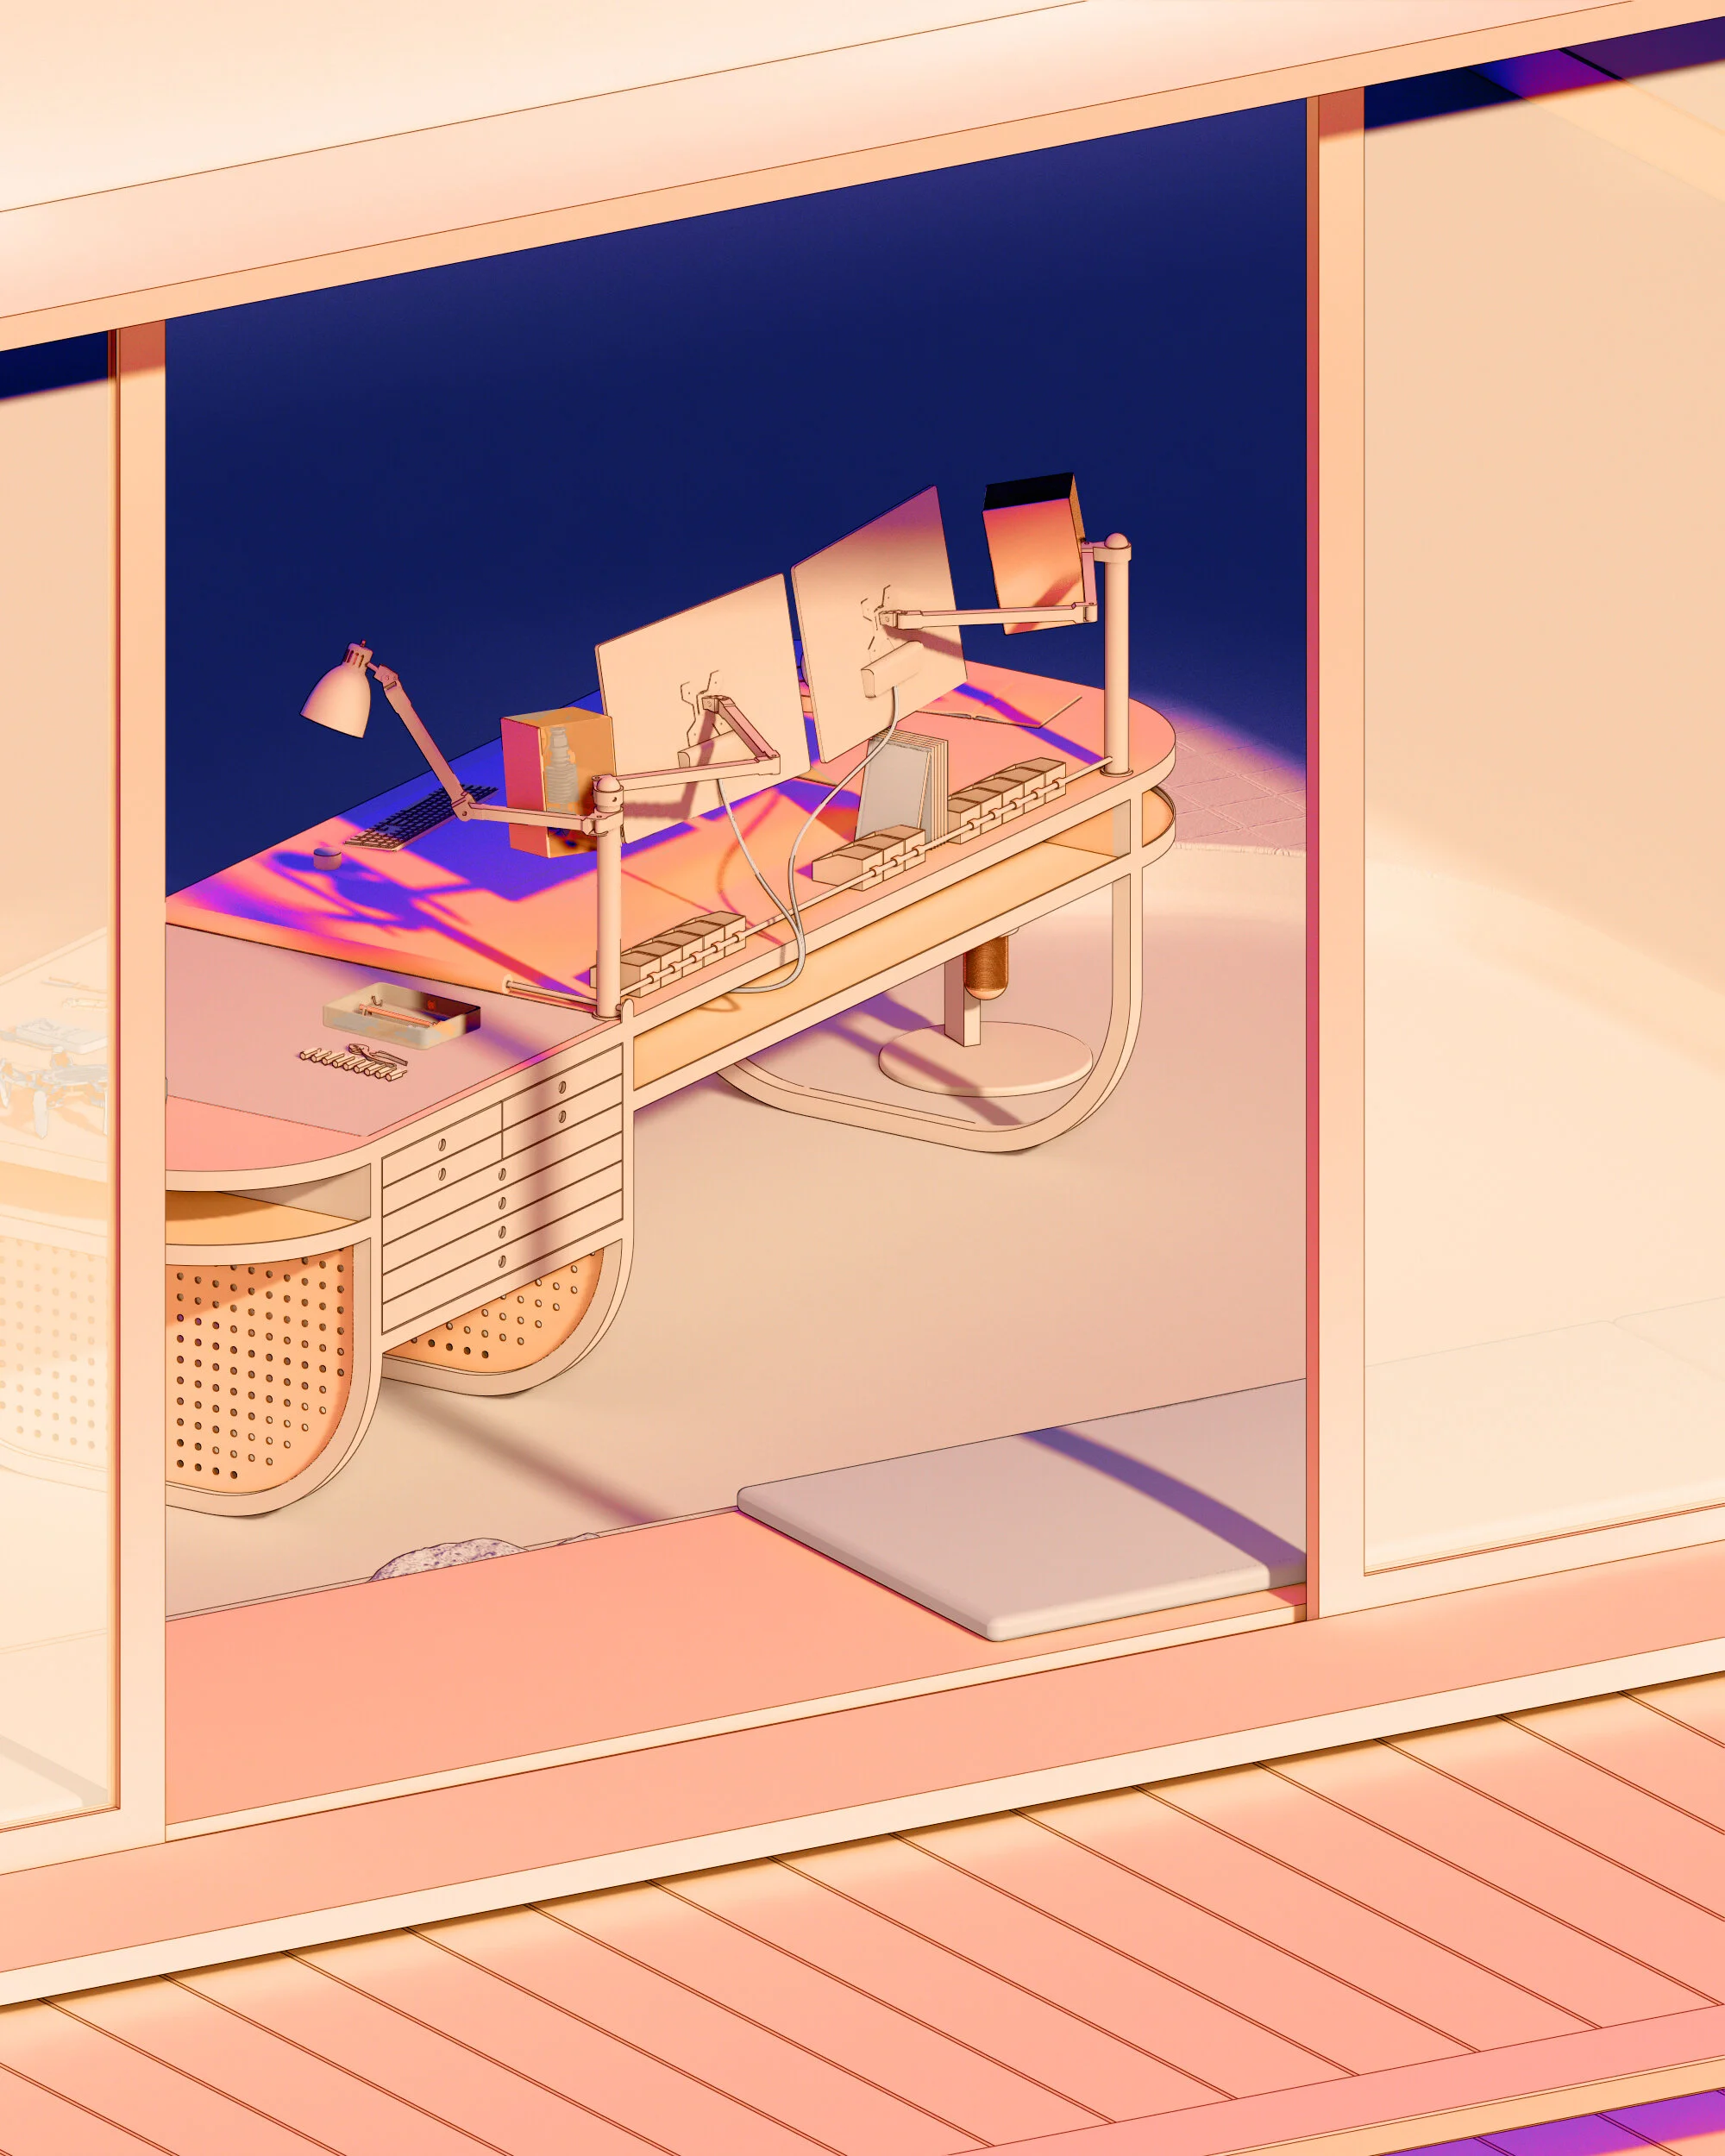


The Water Garden Studio explores the nature of ‘simple complexity’ in our working environments and how, simply through a direct connection to nature, our place of work transforms into a contemplative retreat.

Below are additional moments within the scene, along with a brief walkthrough of the 3D modeling and rendering process.

Scene, lighting, and material design by Alexander


SCENE DETAILS —


PROCESS —


1) DEFINE THE SCENE & NEGATIVE SPACE

All rendering projects begin by working backwards from the end goal and asking the right questions:

What is the conceptual approach for what to model and how detailed the scene needs to be?
What is the final format of the desired visualization?
What is its end use case — web or printed, small format or large?

For this rendering, it was important to emphasize the spaciousness of the open floor plan and large scenic window, so 8K x 4K pixels in a 2:1 widescreen format to achieve the desired results.

Once established, a 50mm parallel perspective view is set up and saved. Take your time to get your perspective as perfect as possible at this point, as it will save you time later. Finalizing your view before getting too deep into the rendering is critical to make sure that you are modeling what is necessary for the image.

The spanning scenic window was centered within the frame and used as a focal point for the scene — seeing beyond the architecture also adds depth to the rendering.


2) COMPOSE THE LIGHT

Once you are confident in your scene, immediately start to play with how the light is entering into the space.

Poorly-lit scenes quickly lose their focus. Try working in black and white and keep in mind a desired contrast between light and shadow before experimenting with materiality. Once you discover your golden moment, save your settings and always preview your scene with the same settings as the final render. This may seem obvious, but is often times easy to overlook. Some questions to think about:

Which objects are being highlighted?
How harsh or soft are the shadows?
What atmospheric qualities are important to emphasize?
Where is my light source?

If you’re using a photograph, analyze it and estimate the light sources and their positions, then recreate the same qualities within your digital scene.

For this rendering, an image was selected to be used in advance as the background of the scene. The image is to be edited in with final post-processing, but for now we see it as the pure white areas in the background.


3) ORGANIZE OBJECTS INTO GROUPS & THEN BY MATERIAL

Begin planning out your materials and object layers. Respect your future self and be diligent about remaining organized with your layers, sublayers, groups, blocks, and materials from now until the end of time — you’ll thank yourself later.

Over 50 different materials were developed for this single scene. Now imagine how much time can potentially be saved by developing an organized materials library, where you can simply navigate and find what you need with ease. Or better yet, create a template file that links to your library for instant success.


4) BALANCE THE MATERIALS

Without going into material and color theory, generally speaking, renders tend to look better when there is a balance of reflectivity, transparency, opaqueness, and texture throughout the scene. Every object needs an appropriate amount of space to “breathe” and be expressed in its own right, and if not, is it really helping the final composition?


5) FINAL POST-PROCESSING

Submit your final render, kick back, and cook yourself some nice food, because you deserve it and it’s probably been a while since your last meal.

Once your long-awaited rendering hits the almighty 100% complete mark, the work isn’t over yet. It’s never a bad idea to play with your lighting and hues in Photoshop, as you may discover some worthy edits. In this case, the background was added in post and the scene lighting was balanced throughout.


ALTERNATE RENDERS —